Cell Phone Glass Assembly Inspection
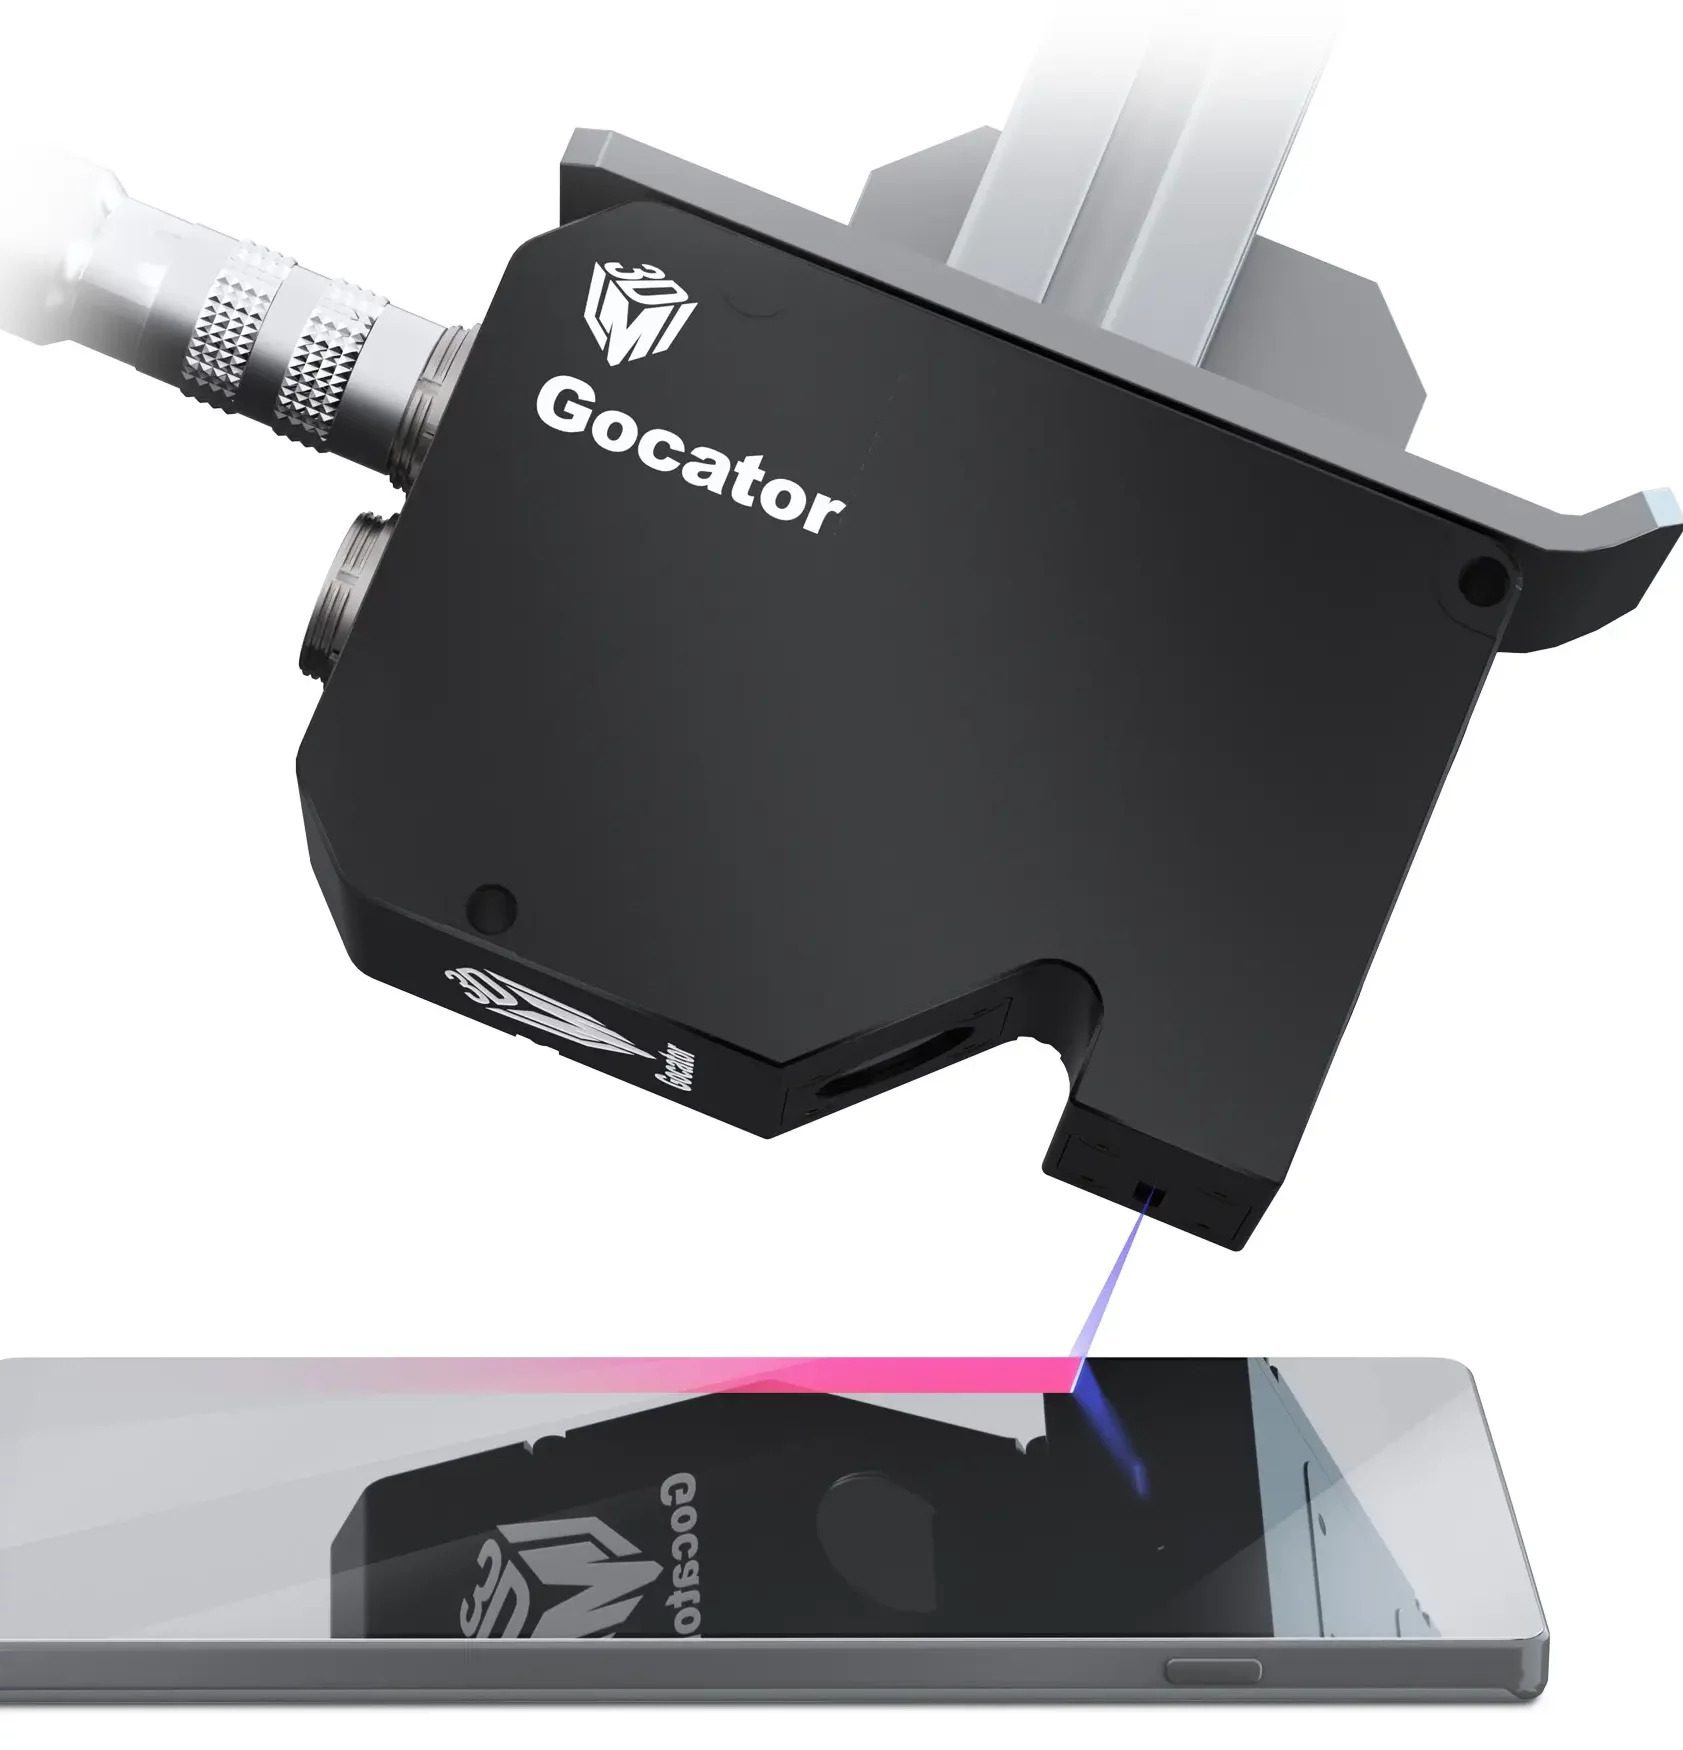
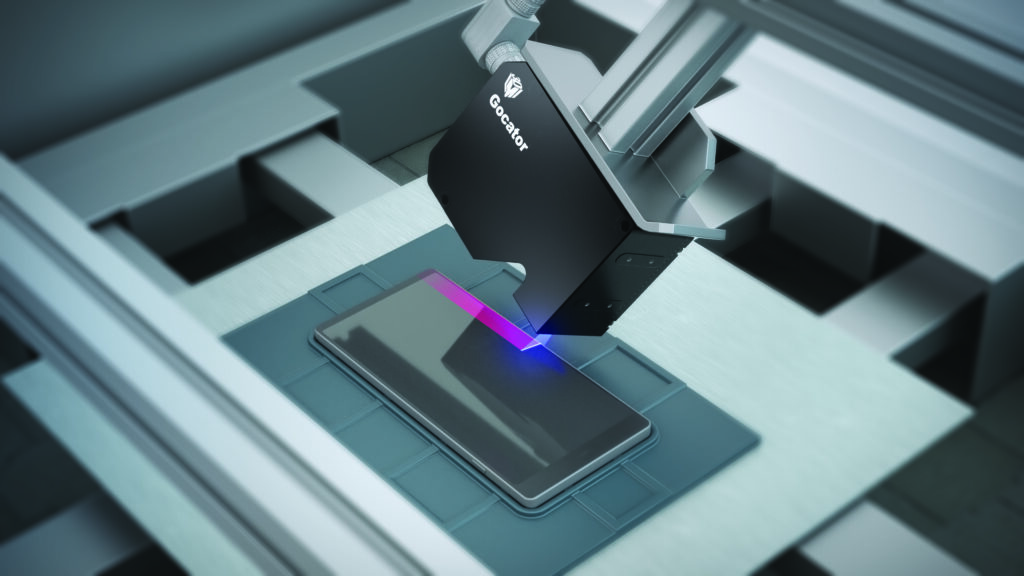
In this consumer electronics (CE) application, a laser sensor scans the cell phone glass
edge and generates high-resolution 3D data. The data is then used to extract edge and gap
features, and to measure flushness and offset of the glass and frame

The Requirements
High resolution is required for this application in order to accurately measure demanding
flushness and offset tolerances. This requires a sensor that can sample data at 8 microns
across a gap (X resolution) and deliver repeatable height data down to 0.2 microns (Z
performance) to measure offset.
Other critical requirements for the sensor in this application include low sensitivity to the
target angle; the ability to eliminate noise caused by laser scattering at the edge of the target
surface; accurate measurement of different surface colors and surface types (e.g., coated,
glossy, transparent); and a low total cost of ownership to ensure maximum profitability. In
addition, scanning and inspection must be carried out at speeds greater than 5 kHz in order
to handle a continuous flow of production.
The Challenge
The problem is that no solution currently available on the market meets all of these
application requirements. Standard laser profilers are highly sensitive to target angle and are
therefore unable to generate sufficient data on specular surfaces. Coordinate measurement
machines (CMMs) use probes that cannot measure the narrow gaps between glass and
frame. Confocal technologies are relatively large and expensive with limited fields of view and
measurement range
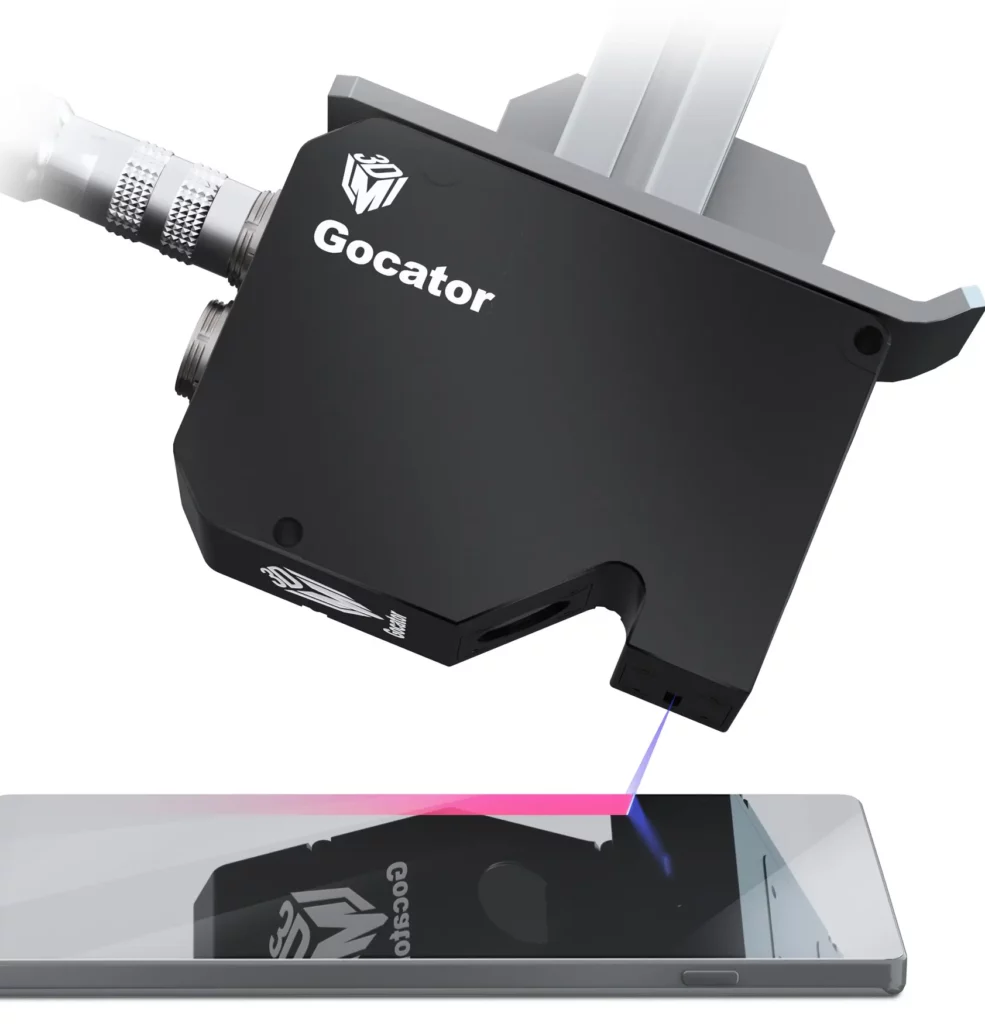
The sensor scans the glass and metal frame simultaneously
A Smart 3D Solution for Scanning Glass
Gocator® 2512 is a new smart 3D laser profiler optimized for scanning glass and other
specular surfaces. This sensor is precision-engineered to overcome the limitations of standard
line and point laser profile sensors, as well as CMMs and confocal scanners.
The 2512 delivers superior 3D data on glass and other specular surfaces, with onboard
software to not only scan but carry out measurement and decision-making at speeds up to
10 kHz. Specialized laser projection technology allows the 2512 sensor to be mounted at a
variety of surface angles for superior performance on a wider range of surface materials (e.g.,
anti-glare, coated/uncoated, low/high contrast, transparent, glossy).
The Implementation
A Gocator® 2512 laser line profiler scans the edge of the glass in its frame, generating highresolution 3D scan data, and then applies built-in measurement tools to inspect for gap, flush,
and offset


The Benefits of Smart 3D
2D technology cannot be used for cell phone glass assembly inspection because 2D vision
is unable to generate shape data. Gocator® 2512 sensors, in comparison, provide height
information at a density which allows users to identify and inspect surface edges and gaps
between mated components (e.g., glass and frame) with micron accuracy.

Let us know your requirements
Just send us your questions we will give
you the help you need.
you the help you need.


